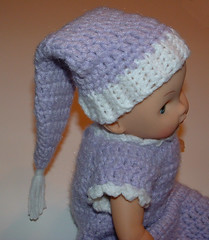
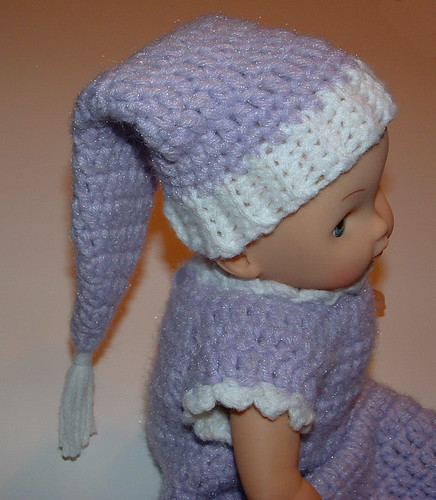
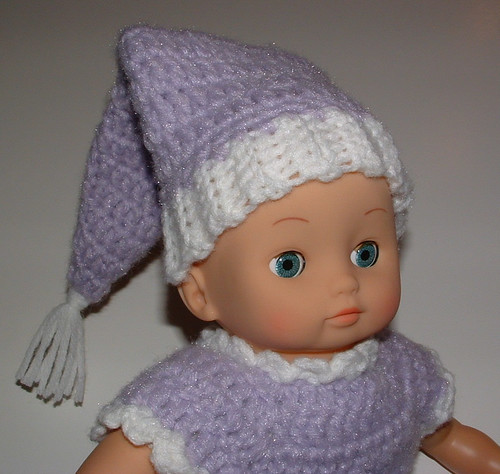
I designed this doll stocking cap as a sleeping cap for a baby doll. It fits a 12-13″ doll with a head circumference of 10-1/2 inches around. I wanted to share this quick crochet project as it’s a fun little hat to add to a baby doll clothing set. I crocheted this hat to go along with the doll bunting outfit I made for my granddaughter’s doll.
*******************************************************************************************************************************************
Doll Stocking Cap Pattern
Fits a 12-13 inch doll or any doll that has a 10-1/2 inch head circumference
Hat measurement flat: 4-7/8 inches wide across opening and 10 inch long
Hook: Metal G (4-4.25 mm) sized crochet hook
Materials:
1 to 1-1/2 oz – worst weight yarn (Vintage Purple Puff WW)
Small amount of white yarn for ribbing band and tassel
Directions:
Using white yarn Ch 7.

Here is a small ripple baby doll blanket I crocheted. I used my wavy ripple blanket pattern and just crocheted a shorter starting chain. This wavy ripple pattern is very adaptable as I have made dishcloths using the same pattern and baby afghans.
The blanket measures 20 inches wide by 11 inches long. I would have made the blanket longer but I only had about 2-3 ounces of the old vintage variegated yarn I was using. It still worked fine for this 11 inch tall baby doll as a blanket wrap.
Doll Wavy Ripple Blanket Pattern
Using a J ( 6mm) crochet hook, chain 60 to start doll blanket.

Here is a quick crochet pattern for bloomers or panties for a fashion doll. In a recent post, I crocheted a dress for a 14-inch fashion doll. I needed some bloomers for under my doll’s dress and came up with these simple but effective panties for my doll.
The 14-inch fashion doll has a waist of 5 inches and 7 inches around at the hips. The crochet pattern below has bloomers that will fit a 14-inch doll. Then I have listed the changes necessary for a 11-1/2 inch tall Barbie fashion doll that has a 3-1/2 inch waist and 5-1/4 inches around at hips.
These bloomers were designed to cover the doll’s bottom under a dress and aren’t all that fancy. I just wanted a simple quick pattern for some panties and this crochet pattern fits that purpose. The waist maybe a bit loose but its snug enough at the hips to hold the bloomers in place without elastic. I hope you find the free pattern useful and happy crocheting to all.
Crocheted Fashion Doll Bloomers
14″ Fashion Doll Dress – Doll has 5″ around waist and 7″ around at hips
Materials:
Small amount of fingering or sport weight acrylic yarn
Hook: E (3.5 mm) crochet hook
Finished size: 3″ at waist, 3″ long, and 3-1/4″ wide at leg opening bottoms
Rnd 1
Ch 30 and join to form a circle.
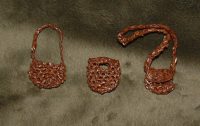
Here are three free Fashion Doll patterns for a handbag purse, tote, and shoulder bag. These are crafted by crocheting with recycled cassette tape as yarn. Just rewind an old cassette tape and cut the tape at the beginning of the brown tape. Pull out the brown tape end to work your project. The tape will pull out freely from the reel. There is no need to open up the case.
Click below on the read more link to view complete patterns.

Here is my I Heart Doll Dress crocheted to fit a 12 inch soft-body baby doll.
This little dress was crocheted using my baby doll bunting pattern and just making changes to convert the pattern into a dress. I also used the reverse single crochet stitch for the trim on the neck, sleeves, and hem. If you are not familiar with the reverse single crochet stitch, it is also known as the crab stitch and makes a nice finished trim on a crocheted item.
The final touch on the baby doll dress is a little heart I crocheted. I just love how it added that extra special look to the doll dress. I hope you enjoy my free crochet doll dress pattern and please let me know if you have any questions as you work the pattern below.
**********************************************************************************************************************************
I Heart Baby Dress Pattern
Fits a 12-13 inch Baby Doll
Dress measurements: 5″ wide at waist (flat), 6-1/2″ long from shoulder to hem, 3″ long from
under armhole to hem, 2″ across armhole (flat) and 9″ around at neck.
Hook: Metal G (4 mm) US sized crochet hook
Materials:
1-2 ozs worst weight yarn (2 colors used)
Small piece of Velcro for back closure
Directions:
Ch 34
Row 1
Dc in 3rd ch from hook.

This is a new teddy bear pattern that I have been working on. I wanted to create a pattern that was crocheted all in the round that was simple and quick with less seams and fewer joins. After several test bears and tweaks to the crochet pattern, I present In the Round Teddy Bear!
Please enjoy the free crochet pattern and a big thanks to TeaLover (Jan) from Ravelry who was so kind and patient with me as I developed this pattern. She was extremely helpful with her knowledge and crochet skills helping me perfect this pattern. It is our hope that this pattern will comfort and bless each child who receives a bear made from the pattern.
In the Round Teddy Bear pattern
8.5 inch tall bear with Red Heart Super Saver (RHSS) yarn
G (4 mm) hook
Pattern uses less than 2 ounces of total yarn (RHSS = 1.7 ozs) and is written in US crochet terms.
Legs:
Rnd 1: Chain 8, turn and SC down chain, work 2 SC in end, SC around the corner working on the other side of the chain, work 2 SC in the last stitch. (16 SC sts)
Do not join. This pattern is worked in the round without chaining, joining or turning unless otherwise directed. Place a stitch marker to mark beginning of round if desired.
Rnd 2-10: SC in each stitch. (16 SC) Leave a tail to join legs at crotch. Make 2 legs, on the 2nd leg don’t FO yarn.
Position the two legs next to each other, so that the yarn tail of the first leg is between the two legs and the working yarn of the 2nd leg is to the side.
Use the tail of the first leg to join the 2 legs together at front center at crotch. Use a yarn needle to stitch 2-3 joining stitches of the two legs together at center. Don’t stitch too tightly, as you need to work into these on the next round. (see photo below)

Here is a new Mother Bear idea that I wanted to share. Add a flower skirt to your bear. I crocheted this Mother Bear body all in BLO and added this skirt to finish off my bear. The head is crocheted in both loops.
This bear was crocheted using Red Heart yarn in a Flamenco stripe skein to crochet the Mother Bear. Then I added a skirt around the waist using some plum Love This Cotton yarn. I had just a small piece of the Flamenco stripe yarn left in pink so used that for the reverse SC trim around the bottom of the skirt.
Directions for skirt:
Starting at back of bear for attaching row, single crochet (SC) around the waist of the bear to start the skirt and join to beginning. *Ch 2 and working in the round and without turning, work 1 Double Crochet (DC) in next stitch then 2 DC in next stitch*. Repeat around and join with slip stitch to top of chain 2.

I am crocheting teddy bears for the Mother Bear Project and have some extra clothing ideas to share. I sent for the crocheted seamless bear pattern and found the pattern very easy to follow with lots of opportunities to make variations on the bear’s clothing. A group over at Ravelry is having a KAL/CAL for the Mother Bears and there are some amazing ideas being shared over there if you’d like to check it out. Here is the link to the group.
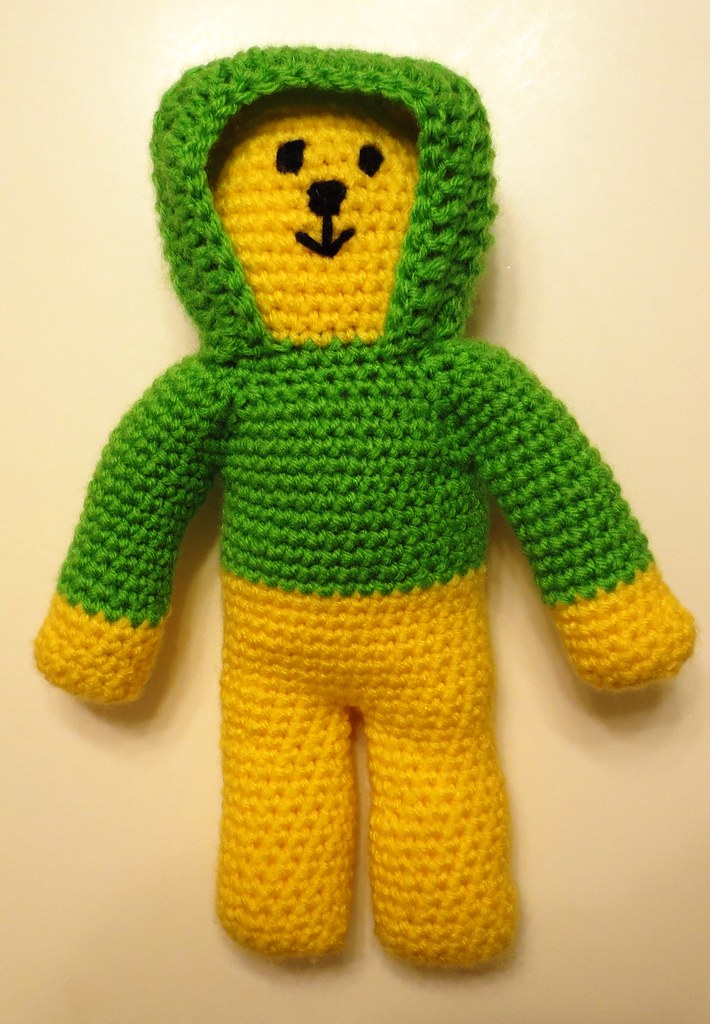
After seeing another crafter make an adorable hoodie, I knew I just had to make a bear with a hoodie too. If you knit there are instructions for the Bears in the Hood found here but I only crochet so I had to improvise and create a hoodie for my bear.
So after a little trial and error here are the pattern details for a crocheted Mother Bear hoodie.

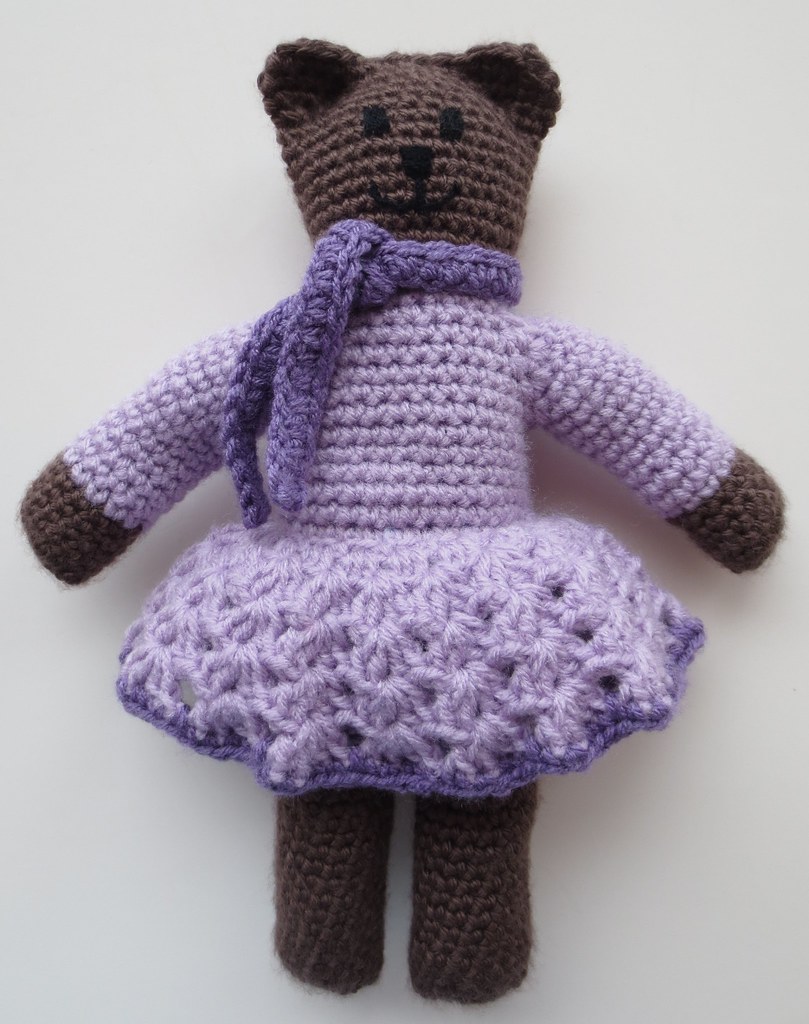
If you read my last post, you know that I have been busy crocheting Mother Bears for the organization that sends teddy bears to children in foreign countries. I crocheted a Mother Bear hoodie on one teddy bear and then crocheted this girl bear with a skirt and bloomers.
This bear and her clothing were crocheted using medium weight acrylic yarn. The basic bear was crocheted using the seamless crochet bear pattern found at the Mother Bear Project site. My pattern details are a guideline for adding the skirt and bloomers but make sure you check your fit on your bear as you crochet.
I crocheted the skirt with a G (4 mm) crochet hook. Attach at back of waist on bear and follow pattern directions below. I crocheted the skirt working from the waist down and crocheted with the bear upside down as I added the skirt.
Mother Bear Skirt Pattern
Row 1
Attach yarn and single crochet (Sc) in each stitch around at waistline.




Recent Comments